
Revamp Your Ride: The Ultimate Guide to Wheel Painting
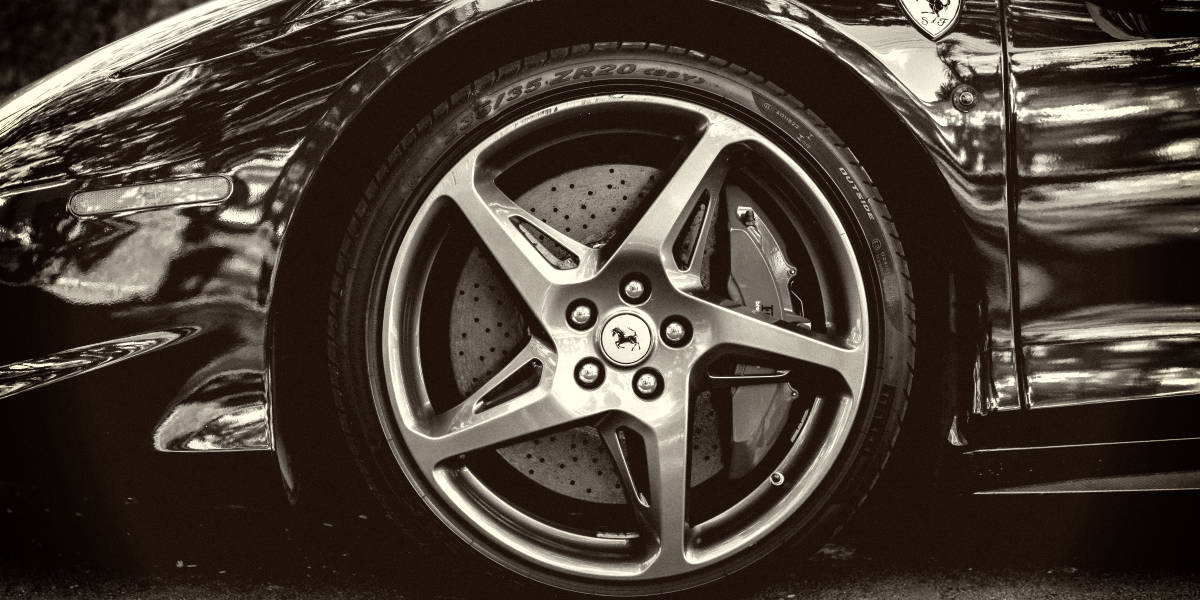
Giving your wheels a fresh coat of paint is a simple and cost-effective way to revamp the look of your ride and make it stand out from the crowd. Whether you’re looking to restore your wheels to their original glory or customize them with a bold new color, wheel painting is a fun and rewarding DIY project that anyone can tackle. In this ultimate guide to wheel painting, we’ll walk you through everything you need to know to achieve professional-looking results.
Choosing the Right Paint
The first step in wheel painting is choosing the right paint for the job. When selecting paint for your wheels, it’s important to choose a high-quality automotive paint that is designed specifically for use on wheels. Look for a paint that is durable, weather-resistant, and formulated to withstand the rigors of daily driving. Additionally, consider whether you want a glossy or matte finish, as this will affect the overall look of your wheels.
Preparing Your Wheels
Before you can paint your wheels, you’ll need to prepare them properly to ensure the paint adheres correctly and lasts for years to come. Start by cleaning your wheels thoroughly with soap and water to remove any dirt, grease, or grime. Once they are clean, use a fine-grit sandpaper to roughen up the surface of the wheels and remove any existing paint or clear coat. Finally, use a degreaser to remove any remaining residue and ensure the surface is clean and free of contaminants.
Masking Off
Once your wheels are clean and prepped, it’s time to mask off any areas you don’t want to paint. Use painter’s tape to cover the tire, valve stem, and any other areas you want to protect from overspray. Take your time with this step to ensure you get clean, crisp lines and avoid getting paint where you don’t want it.
Applying the Paint

Now it’s time to apply the paint to your wheels. Start by applying a thin, even coat of primer to the wheels and allow it to dry completely. Once the primer is dry, apply several thin coats of paint, allowing each coat to dry completely before applying the next one. Be sure to follow the manufacturer’s instructions for drying times and application techniques to achieve the best results.
Adding a Clear Coat
For added protection and a glossy finish, consider adding a clear coat to your painted wheels. Apply several thin coats of clear coat, allowing each coat to dry completely before applying the next one. The clear coat will help protect the paint from chipping, fading, and peeling, ensuring your wheels look great for years to come.
Curing the Paint
Once you’ve finished painting your wheels, it’s important to allow the paint to cure properly before driving on them. Most automotive paints require several days to fully cure, so be sure to follow the manufacturer’s instructions for curing times and avoid driving on the wheels until the paint is fully cured.
Maintaining Your Painted Wheels
To keep your painted wheels looking their best, it’s important to follow a regular maintenance routine. Wash your wheels regularly with soap and water to remove dirt, grime, and brake dust, and avoid using harsh chemicals or abrasive cleaners that could damage the paint. Additionally, consider applying a coat of wax or sealant to your painted wheels to provide added protection and keep them looking shiny and new for years to come.
Choosing the Right Color

When it comes to painting your wheels, choosing the right color is key to achieving the look you want. Whether you prefer a classic black or silver finish, a bold and vibrant color, or a custom color that matches your vehicle’s paint job, there are endless options to choose from. Consider the overall look and style of your vehicle, as well as your personal preferences, when selecting a color for your wheels.
DIY vs. Professional Painting
While painting your wheels yourself can save you money, it requires time, patience, and attention to detail to achieve professional-looking results. If you’re not confident in your painting skills or don’t have the time to dedicate to the project, you may want to consider hiring a professional to paint your wheels for you. A professional painter will have the experience, expertise, and equipment needed to ensure your wheels look their best and last for years to come.
Customization Options
In addition to choosing the right color for your wheels, you can also customize them with a variety of finishes and accents to create a truly unique look. Consider adding pinstriping, decals, or custom logos to your wheels to make them stand out from the crowd. Additionally, you can choose from a variety of finishes such as matte, gloss, satin, or metallic to achieve the perfect look for your ride.
Protecting Your Painted Wheels
Once you’ve painted your wheels, it’s important to take steps to protect them and ensure they look their best for years to come. Consider applying a ceramic coating or clear bra to your wheels to provide added protection against scratches, chips, and fading. Additionally, be sure to follow a regular maintenance routine to keep your wheels clean and free of dirt, grime, and brake dust.
Final Touches
Once your wheels are painted and cured, it’s time to put the finishing touches on your ride. Reinstall your wheels onto your vehicle and take a step back to admire your handiwork. Whether you’ve restored your wheels to their original glory or customized them with a bold new color, you can take pride in knowing that you’ve transformed the look of your ride and made it truly your own.
Conclusion
In conclusion, wheel painting is a simple and cost-effective way to revamp the look of your ride and make it stand out from the crowd. By following the steps outlined in this guide, you can achieve professional-looking results that will impress everyone you meet on the road. So why wait? Get started on your wheel painting project today and give your ride the makeover it deserves!